

How To Draw A Celtic Knot Heart
The Celtic knot is one of the most complex and intricate patterns in history. These winding and complicated designs take been found in all mode of ancient texts, architecture and other relics from the past, and they remain popular to this day.
Fans of Celtic knots that try to sit down and describe them tin observe that their complexity can get in hard to learn how to draw a Celtic knot.
Luckily, it doesn't take to be that hard when you break information technology down, and that's what this guide is for!
Our pace-past-step guide on how to draw a Celtic knot in just 10 steps volition prove you how information technology's done!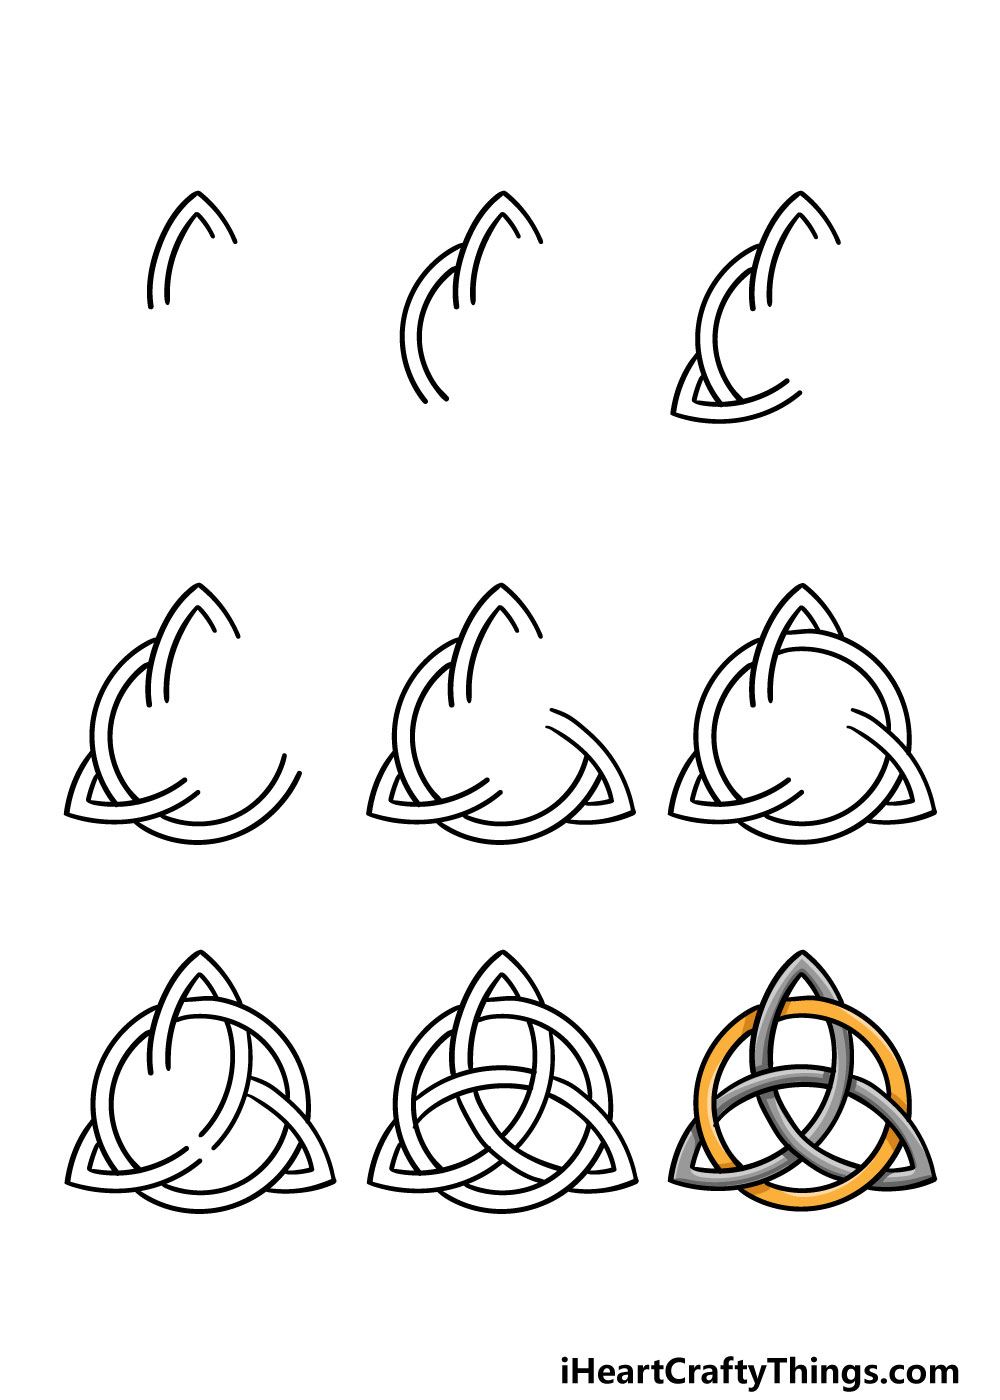
What's in this Web log Mail
- How to Draw a Celtic knot – Let's get Started!
- Step 1
- Step 2 – Proceed adding to the knot
- Step 3 – Side by side, draw in the height of the left wing
- Step four – Now, continue the thread from stride 2
- Footstep 5 – Next you will be drawing some other curvation
- Stride 6 – Terminate off the inner circle of the shape
- Step seven – Now draw some lines for the interior of the knot
- Step 8 – Connect more of the lines
- Step 9 – Cease off the terminal threads
- Step ten – At present end off your Celtic knot drawing with some color
- Your Celtic Knot Drawing is Complete!
How to Describe a Celtic knot – Permit's get Started!
Step ane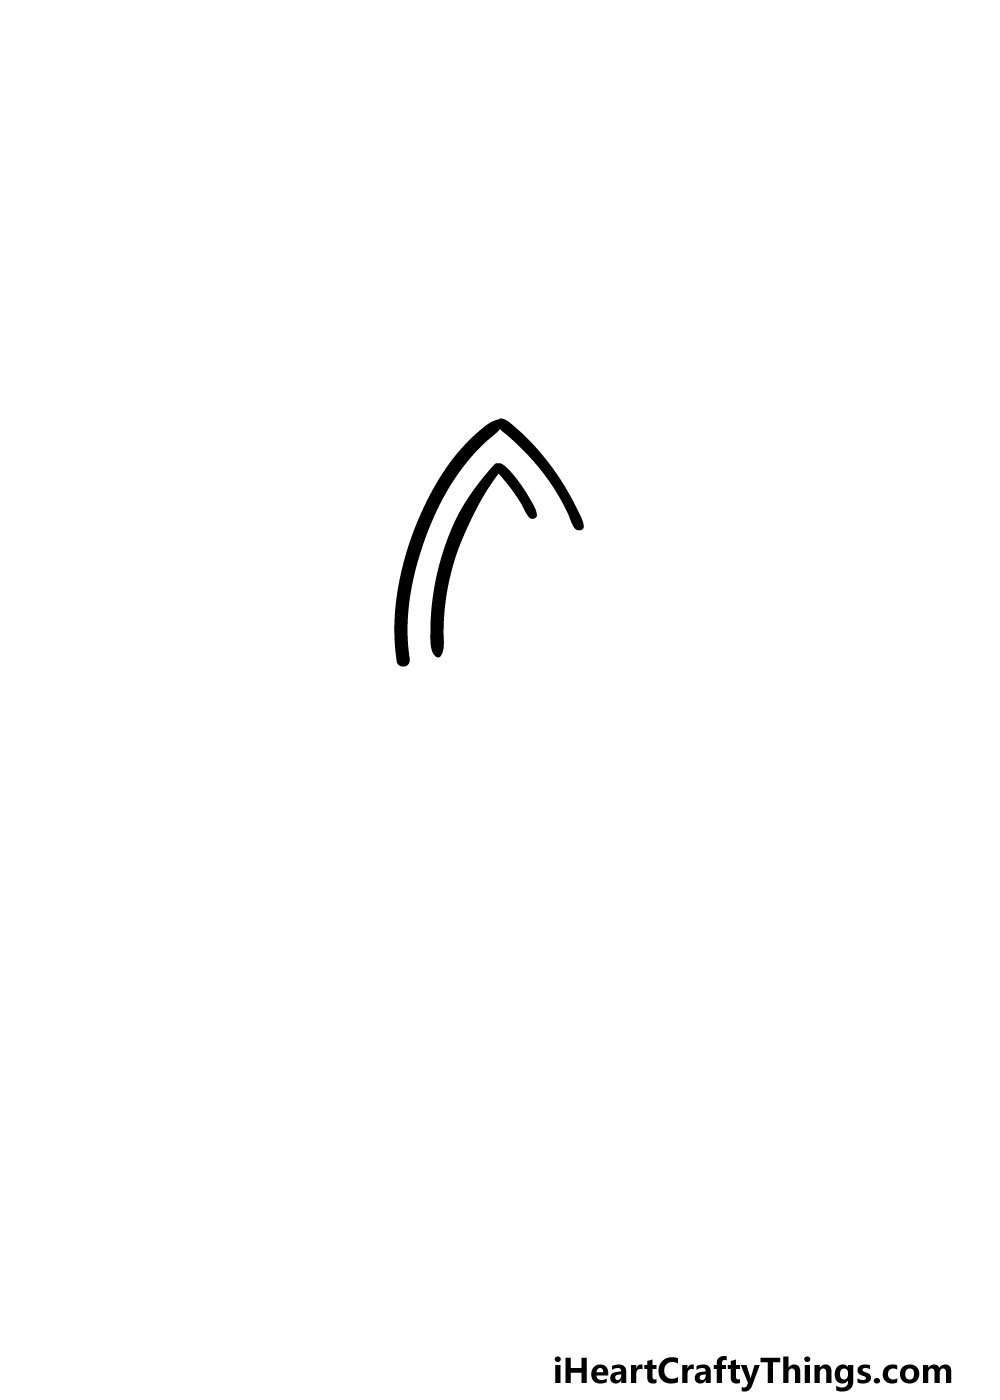
We mentioned that when learning how to draw a Celtic knot you'll want to make sure that you lot suspension it downward into smaller steps.
That is what nosotros volition be starting with in this guide, as we will be drawing one department of the knot. As you draw, try to think of it as threads looping together.
For this starting time thread, y'all will be drawing two curved lines that meet at a sharp indicate. As seen in the reference epitome, this will course what looks like a precipitous curvation shape.
Pace 2 – Go along adding to the knot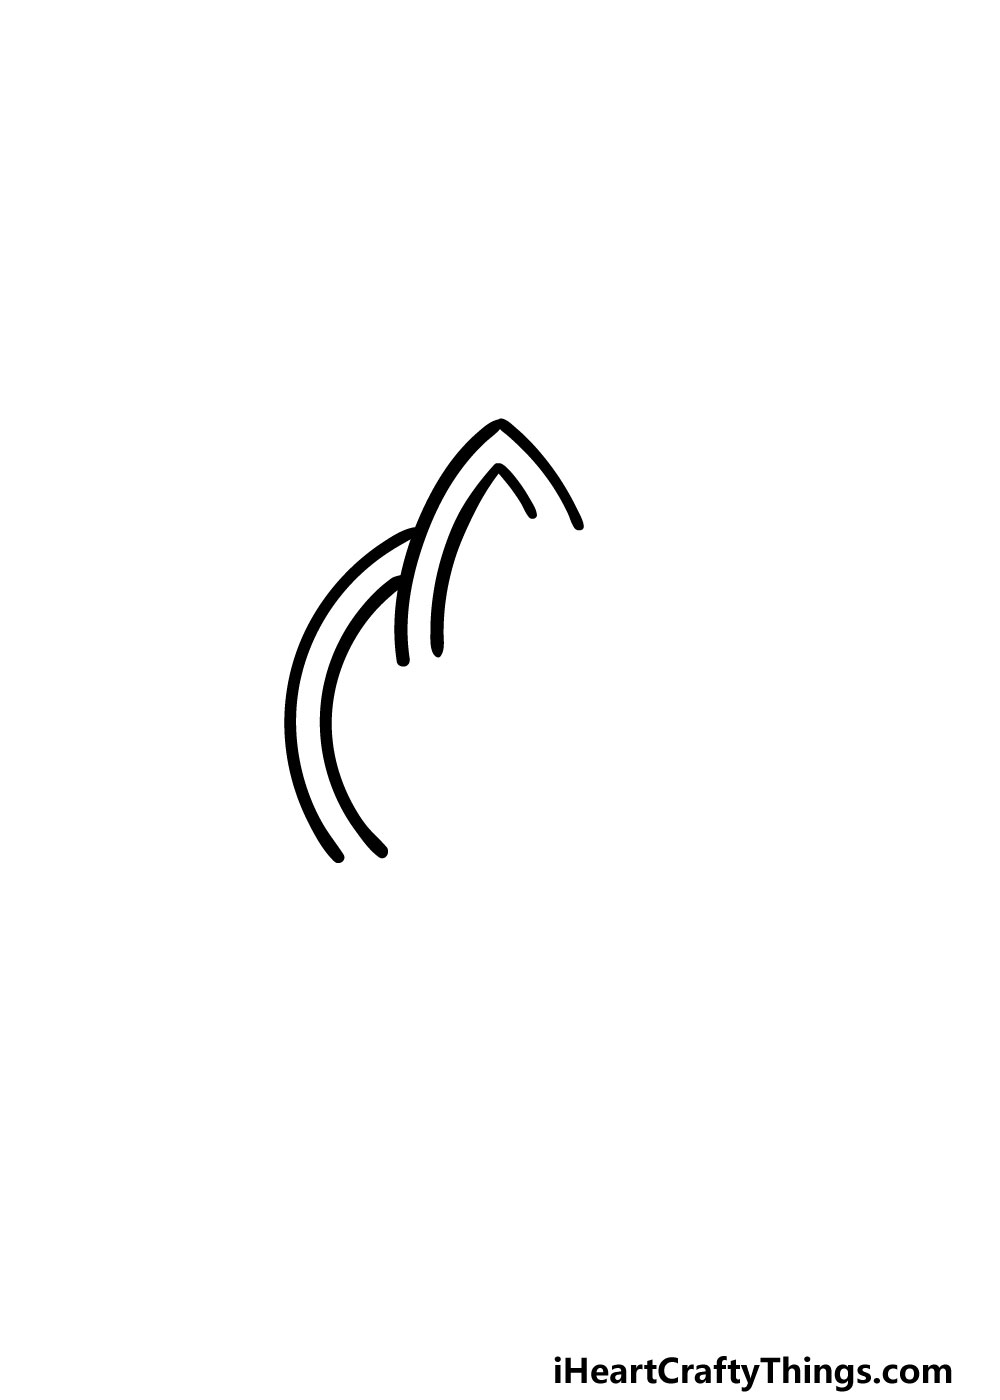
This second step of your Celtic knot drawing will take you lot cartoon more of those threads for the knot.
These lines should be quite simple to do, as all you will need is to depict some curved lines coming down from the 'arch' that y'all drew in the previous footstep.
That's all there is to it for now so it's time for the next footstep!
Step 3 – Adjacent, draw in the peak of the left fly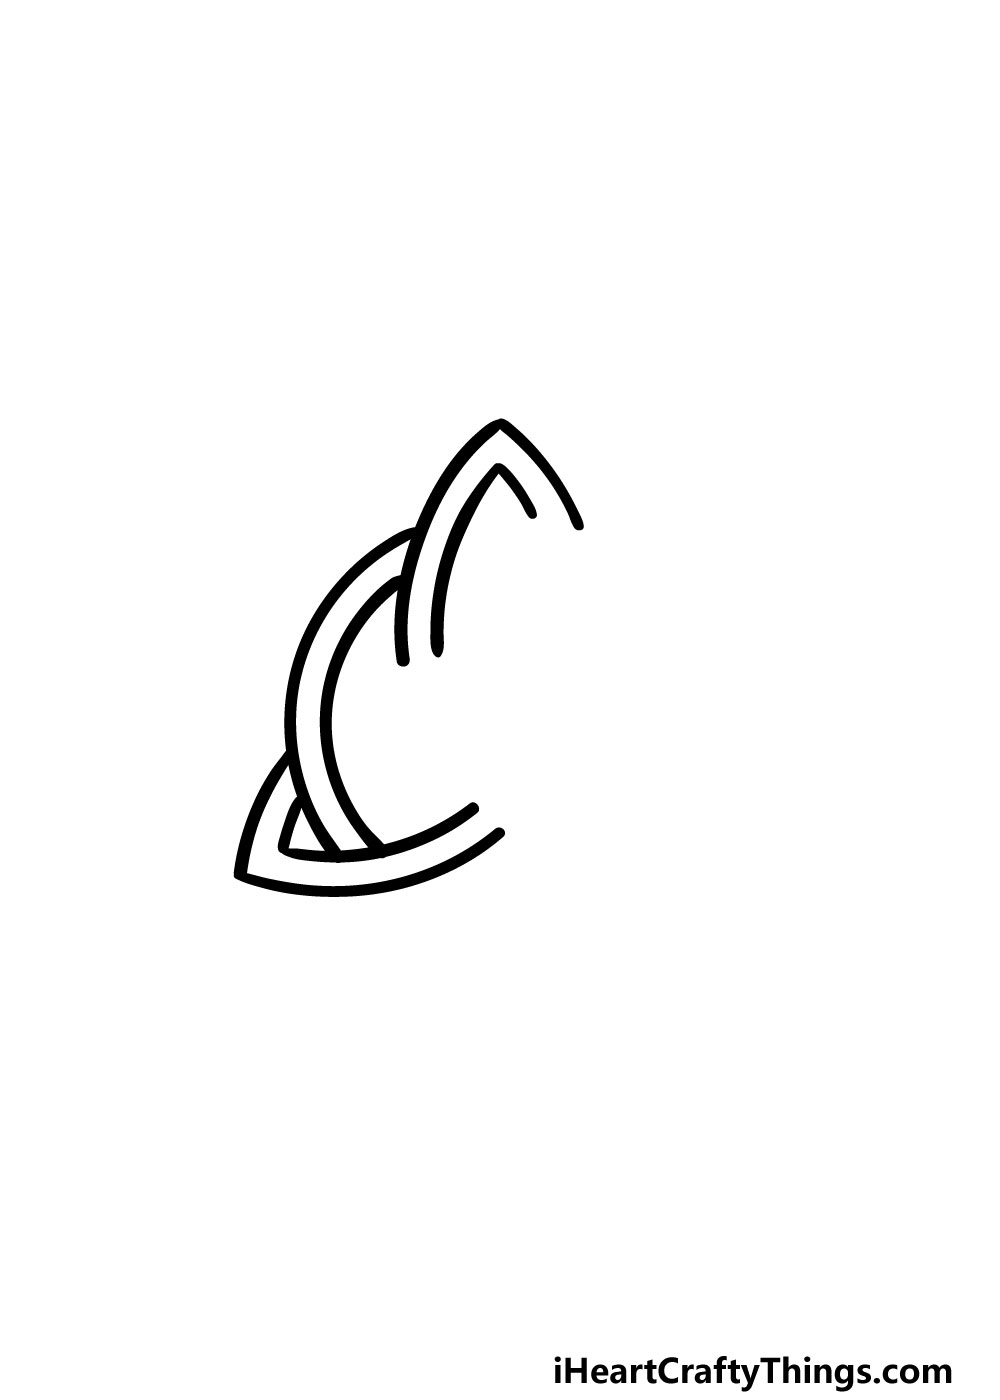
For the next pace of our guide on how to draw a Celtic knot, nosotros will exist adding another arch like to the one from step 1.
This arch will be going at more than of a diagonal than that one was. Once that's done, we can continue building on the knot as we continue.
Pace 4 – Now, continue the thread from step 2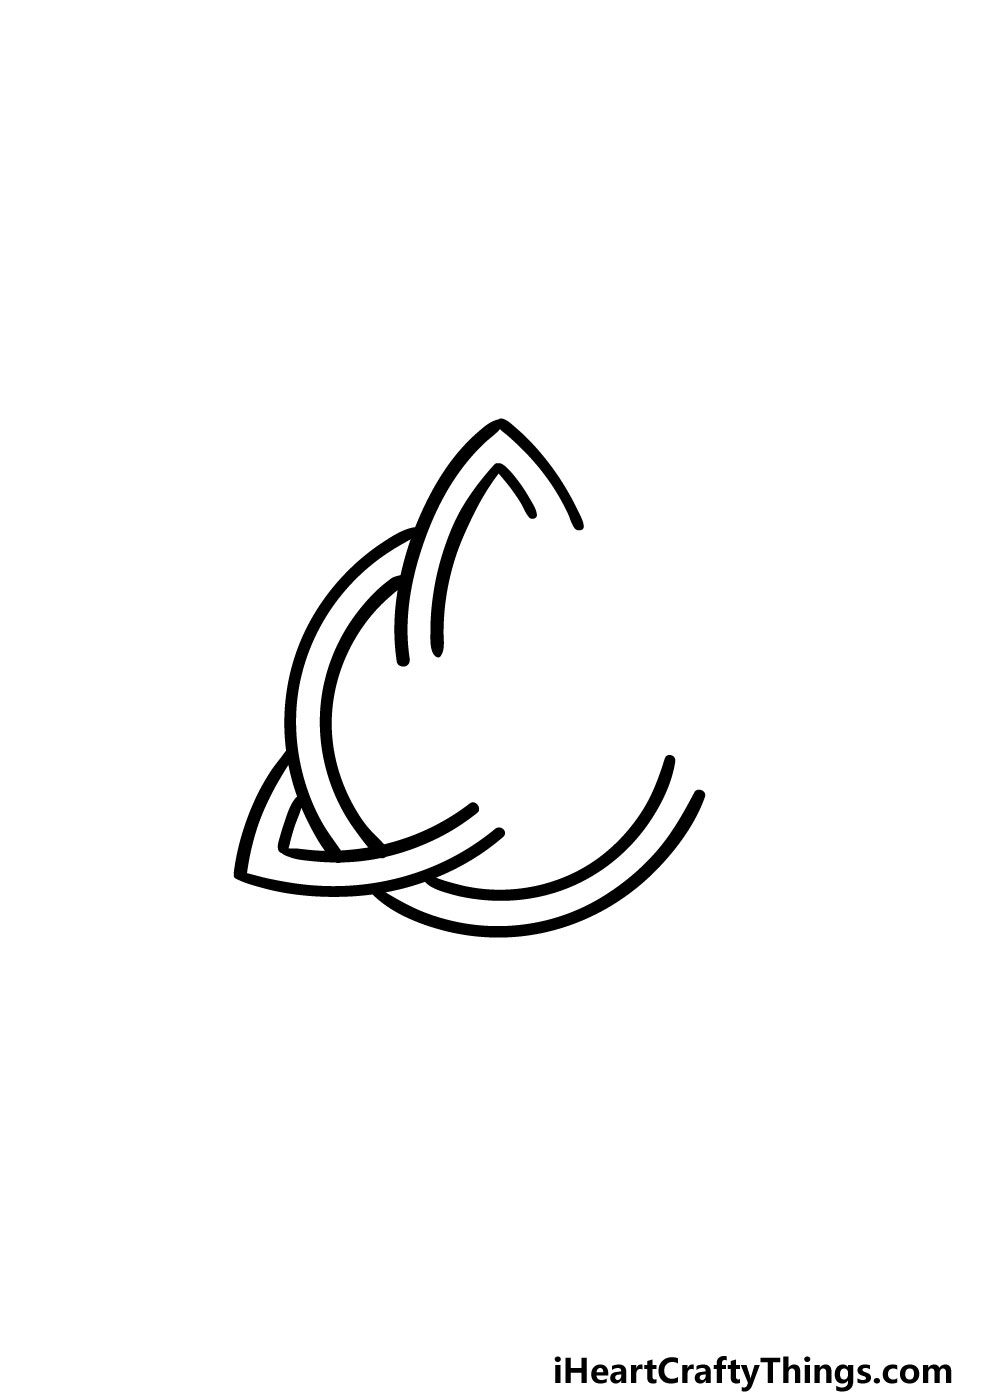
In this next stride of your Celtic knot drawing, you will exist extending the threads that yous began back in pace ii of the guide.
To do this, simply extend some more curved lines in a fashion that makes it wait like they're connected to the ones from that step.
Step 5 – Next you will be drawing another arch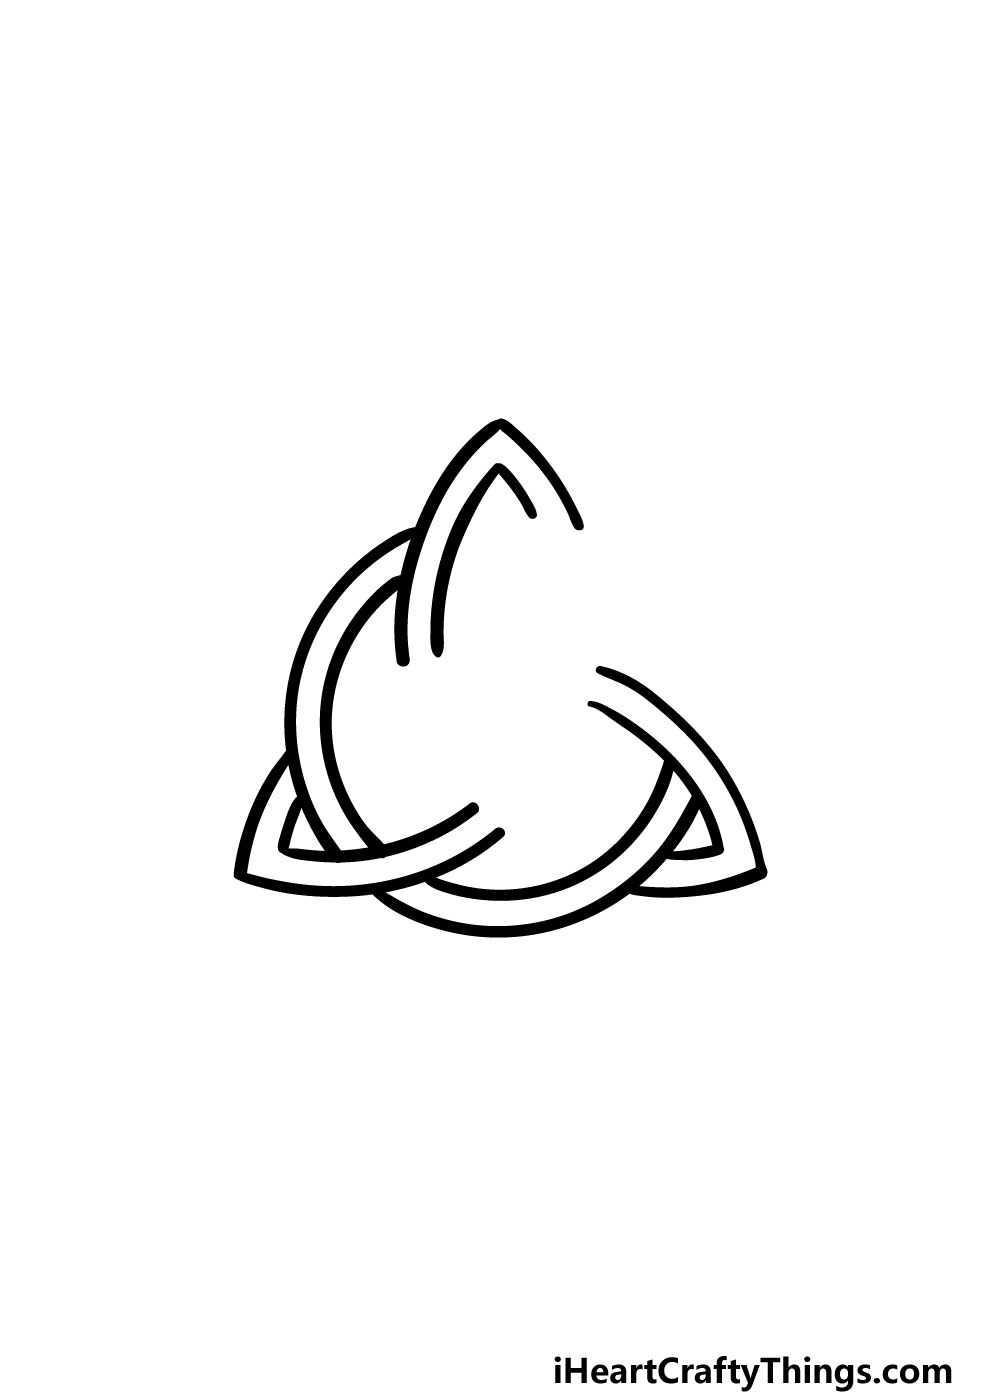
You've drawn a few arch shapes in this guide on how to draw a Celtic knot so far, so you should accept no issues drawing another for this step.
This one will also exist going diagonally at the side on the right, much like the one from footstep three. If any of this sounds confusing and then referring to the reference image should brand it much clearer!
Step 6 – Finish off the inner circle of the shape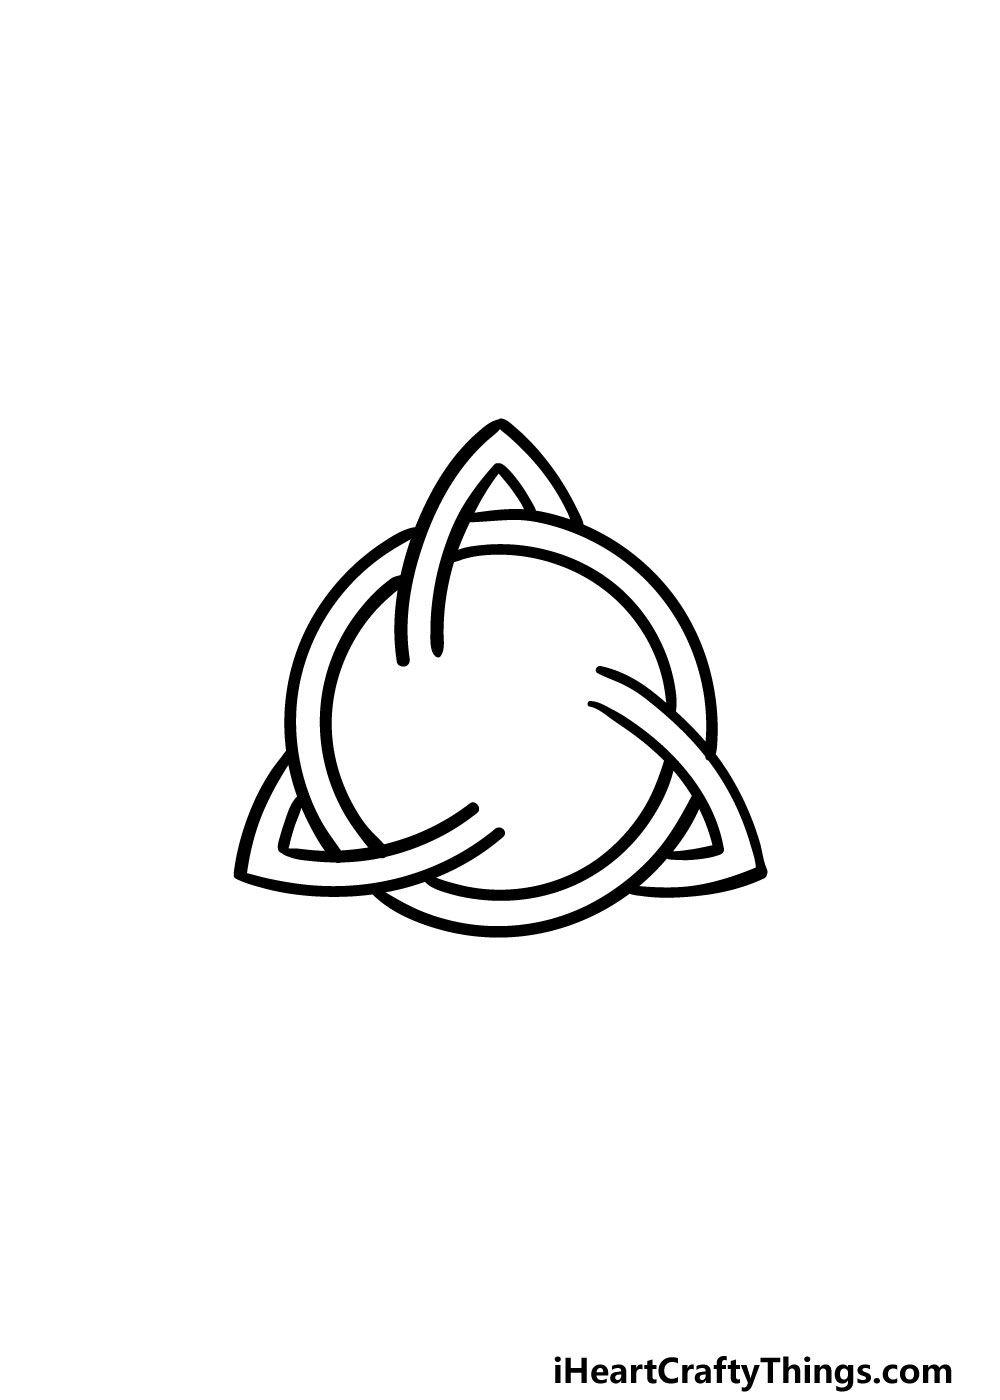
By this step of your Celtic knot drawing, y'all've probably noticed that you are cartoon a circular shape within the knot.
That circular shape is what nosotros will be finishing off in this part. With that circular shape drawn, all that will remain will be to add some more to the lines that make up the interior of the knot.
Step 7 – At present draw some lines for the interior of the knot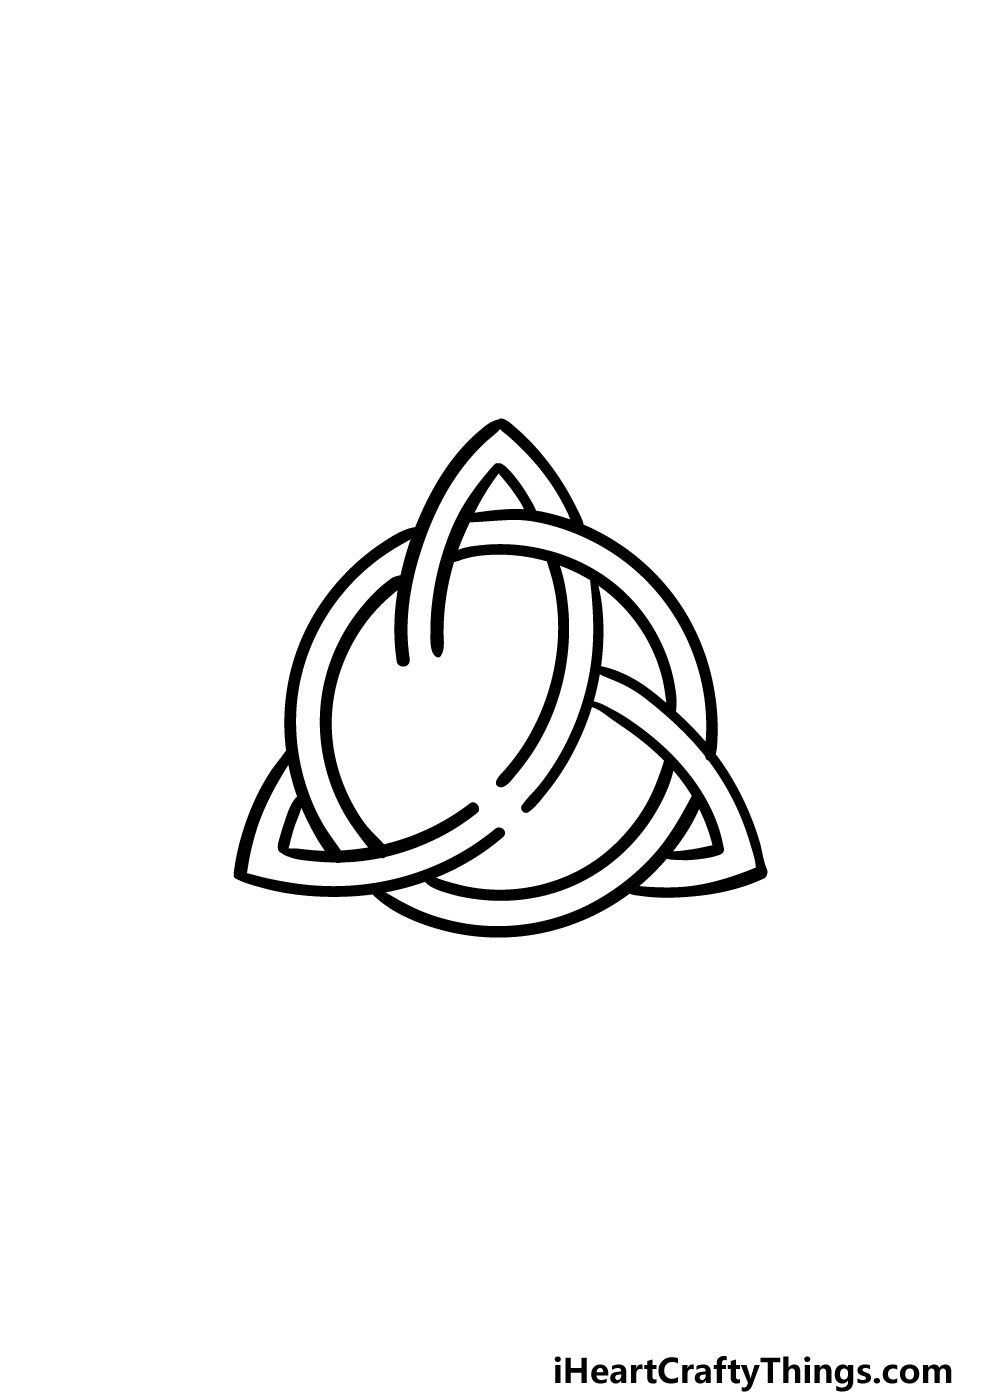
The next few steps of this guide on how to draw a Celtic knot will be focused on finishing off the threads on the interior of the knot.
For this role, just describe some curved lines in the interior that look similar they would connect to the arch that is at the top of the knot.
Step 8 – Connect more of the lines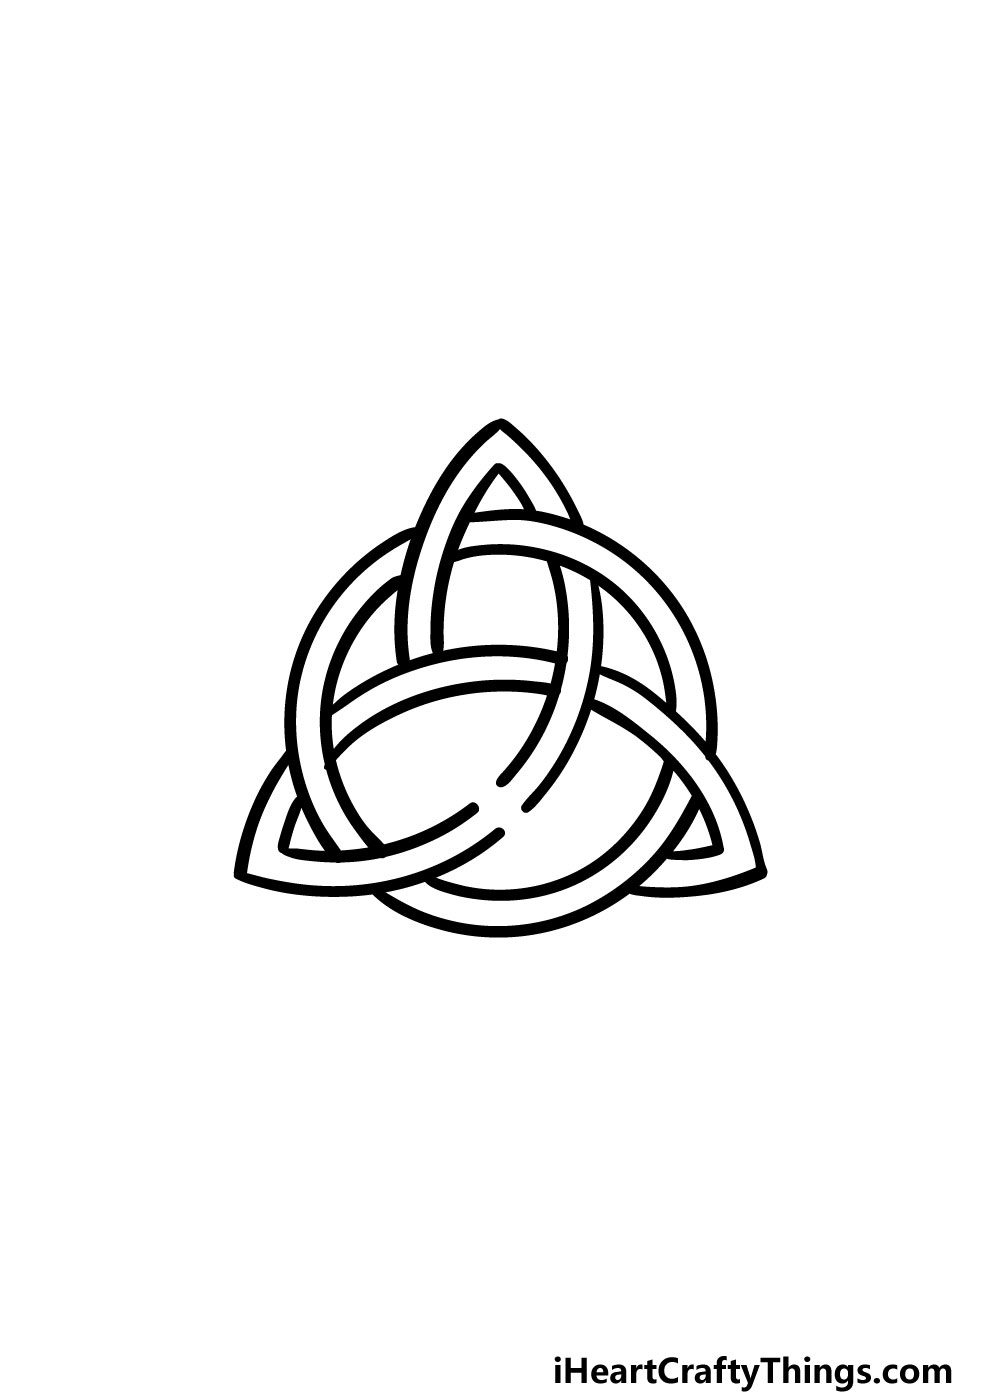
We will be connecting even more of the threads of your Celtic knot drawing in these final few steps.
These curved lines you're adding here will connect the thread that runs horizontally across the knot, as shown in the image.
Footstep nine – Cease off the final threads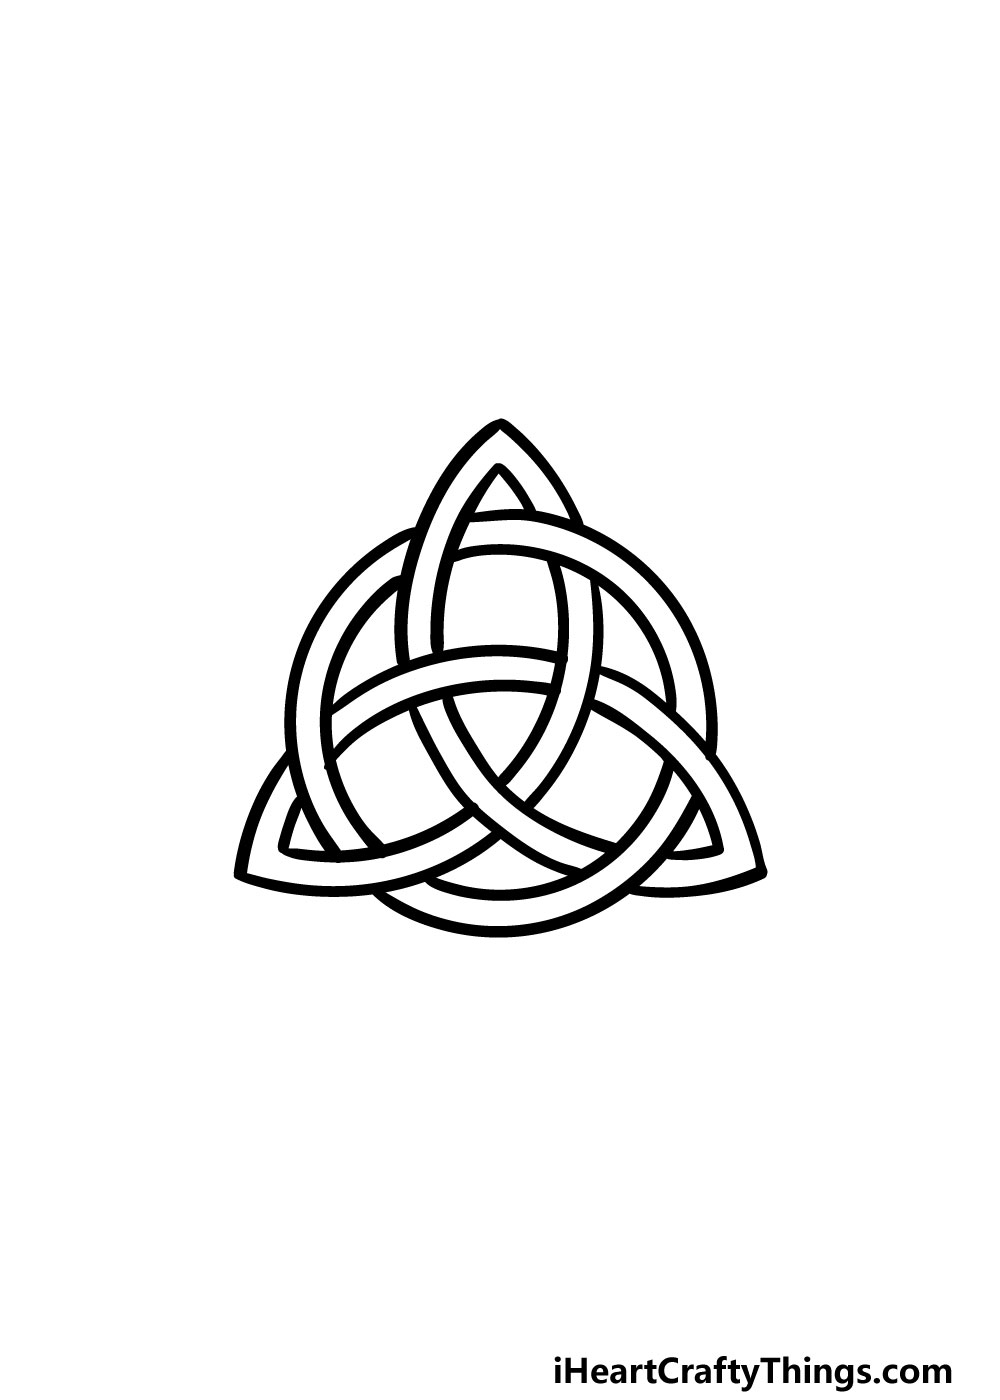
Information technology'southward almost fourth dimension to color in your moving-picture show, but we take a few terminal steps to add in this stride of our guide on how to draw a Celtic knot.
All you need to do for this step is add some more than curved lines to connect the final thread running vertically inside the knot.
With that, your Celtic knot drawing will be consummate and you'll be ready for the concluding step.
Pace ten – Now finish off your Celtic knot drawing with some color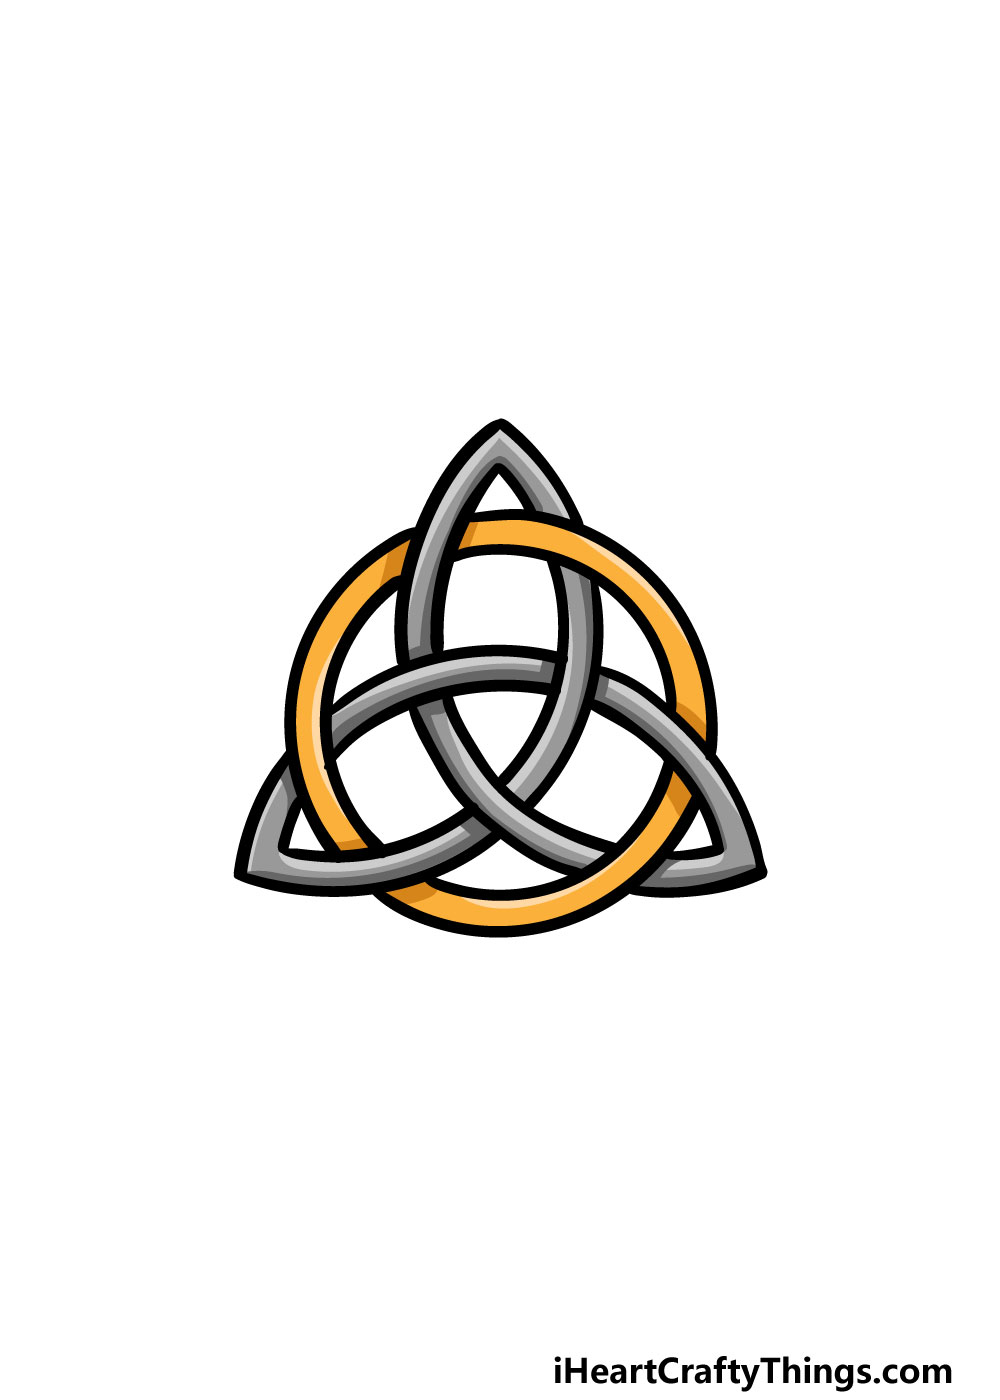
This final step of your Celtic knot drawing is the one where you get to have some fun adding some beautiful colors!
In our reference image, we used some xanthous and grey for the knot, only you should definitely go for any colors that you may dearest for this drawing.
Y'all tin can also help to bring these colors to life by choosing your art mediums wisely.
This is definitely a stride where you go to have over and show usa just how creative you can be. Nosotros can't wait to see how you bring this picture to life!
Your Celtic Knot Cartoon is Complete!
With the final details and colors added, you have finished this guide on how to describe a Celtic knot!
These elaborate designs tin be quite tricky to draw, so we hope that this guide helped to make information technology not but much easier but too more fun for you to practise.
Breaking a drawing down into smaller and more than manageable steps is always the best mode to go far easier to practice!
Now that you have mastered this guide, y'all can take it even further with your own details and elements.
You could do this by extending the design of the knot past adding your own lines and designs. Finishing it off with your favorite colors and fine art mediums volition also look great!
Once you're gear up for your side by side drawing challenge, we look forward to seeing yous on our website! We have tons of guides for you lot there and we upload new ones oftentimes.
When your Celtic knot drawing is complete, nosotros would dearest to encounter information technology! You tin share your artwork on our Facebook and Pinterest pages for us to enjoy.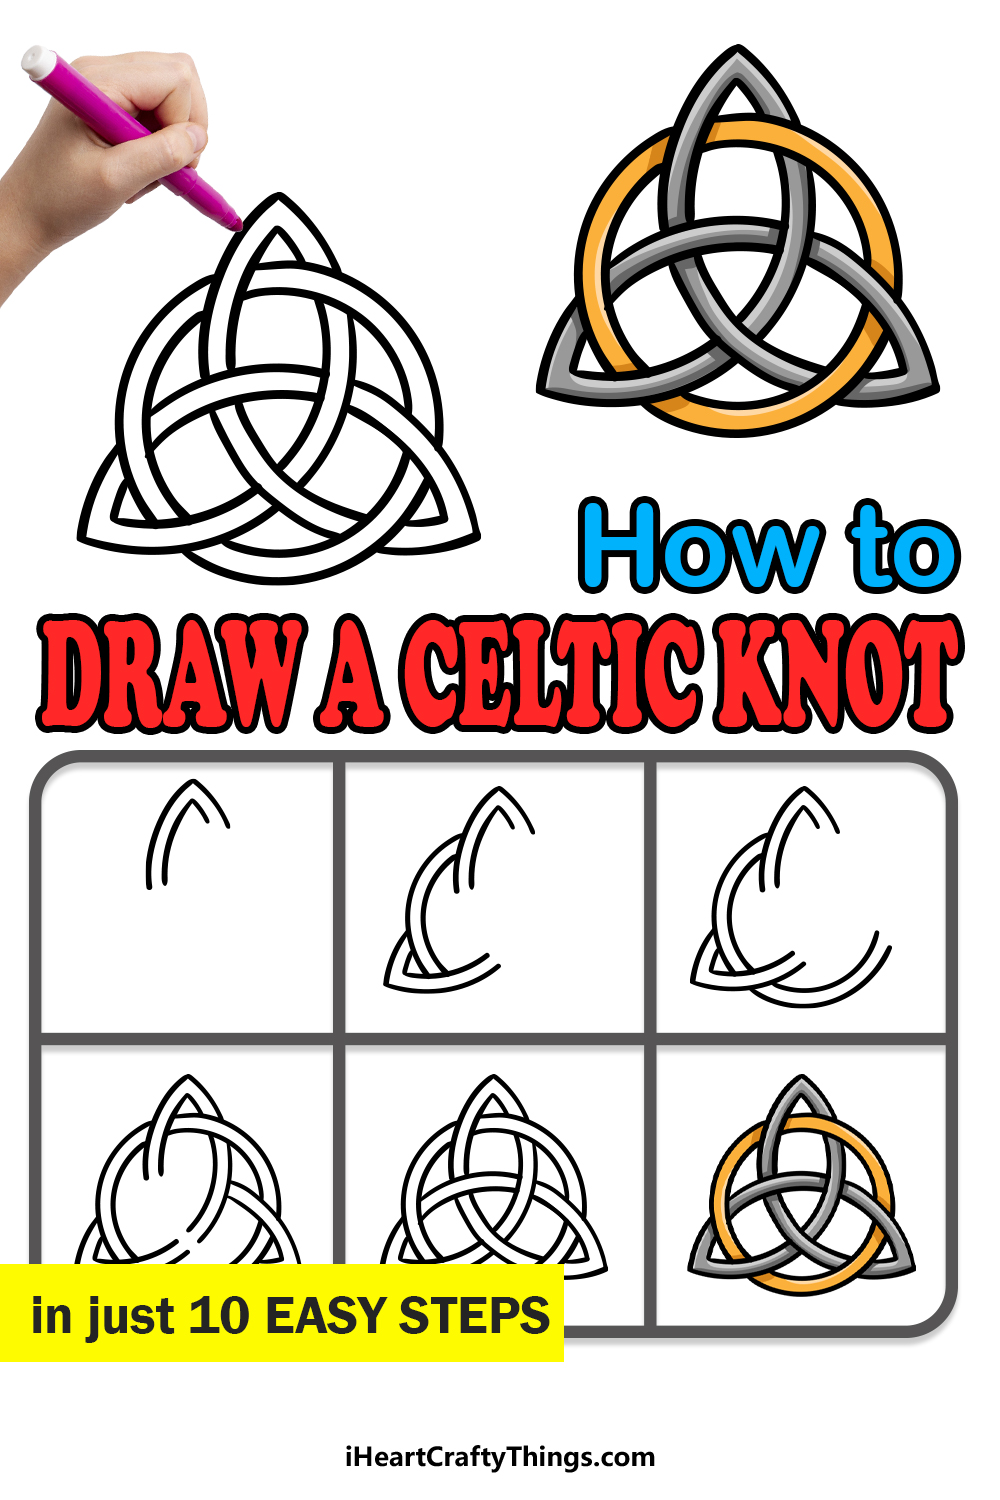

Source: https://iheartcraftythings.com/celtic-knot-drawing.html
Posted by: drummondtals1968.blogspot.com
0 Response to "How To Draw A Celtic Knot Heart"
Post a Comment